Wednesday, 6 November 2024
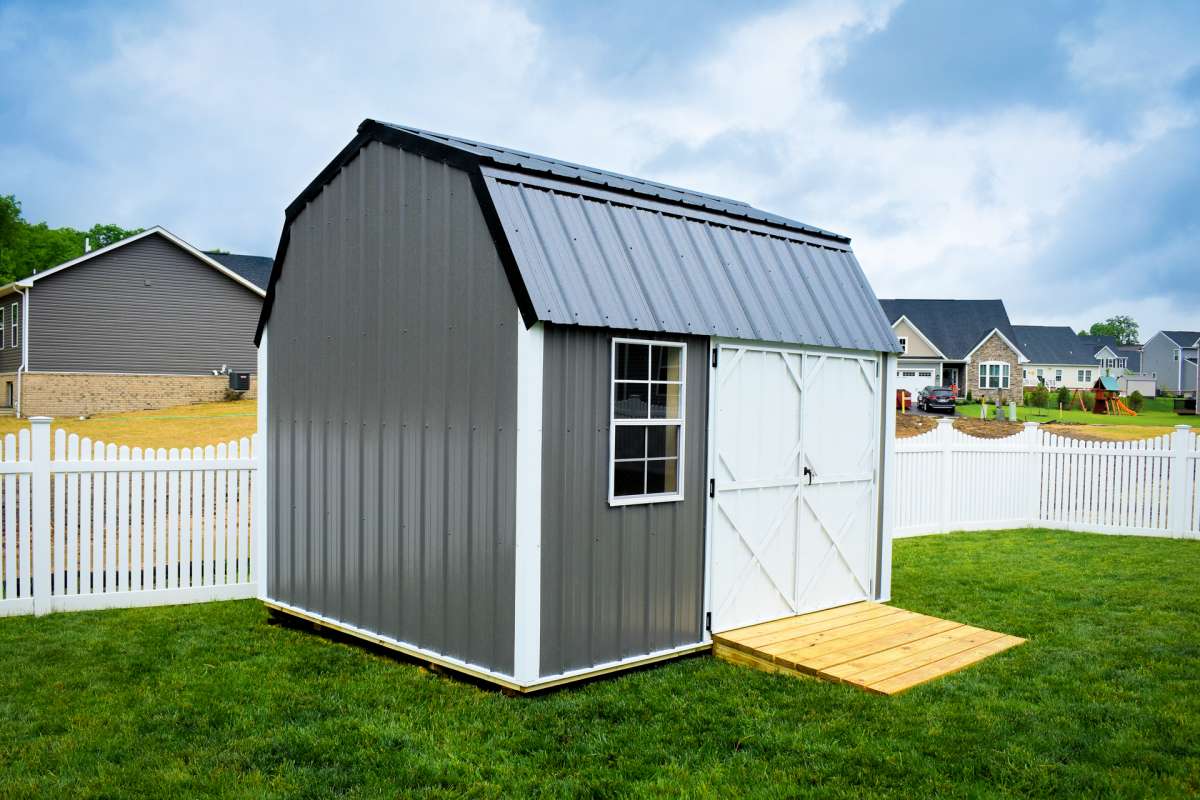
Easy-to-follow 10x12 shed plans for diy builders on a budget

Hey there, fellow DIYer! Looking to build a 10x12 shed and feeling a little intimidated? Don't worry, you're not alone. Building your own shed can be a rewarding and cost-effective way to add extra storage space to your property.
And guess what? It's totally doable, even if you're a beginner! This guide will walk you through the process, from planning to finishing touches, with a focus on keeping costs down without sacrificing quality.
1. Planning & Preparation:
Draw it Up: Before you even think about picking up a hammer, grab a pencil and paper (or a digital design tool) and start planning. Sketch out your shed's dimensions (10x12 feet) and decide on the style and features you want, like windows, doors, and a loft. This step is crucial for creating a visual roadmap.
Location, Location, Location: Choose a spot for your shed that's level, well-drained, and easily accessible. Consider factors like sunlight, wind, and proximity to your house.
Gather Materials: Once you have your plan, create a materials list. This includes everything from lumber to roofing materials to hardware. Don't forget to factor in things like paint, sealant, and insulation if you want to create a more comfortable space.
Permits: Check your local building codes and regulations to see if you need a permit to build a shed. This will save you headaches later on.
Foundation: A solid foundation is key for a sturdy shed. You have a few options here:
Concrete Slab: A classic choice but requires some extra work and can be expensive.
Concrete Blocks: A more affordable option and easier to create, providing a level base for your shed.
Pressure-Treated Skids: Simple to install, but may need some leveling and can be less stable than concrete.
2. Building the Frame:
Cutting the Lumber: Start by carefully cutting your lumber according to your plans. You'll need 2x4s for the walls, 2x6s for the floor joists, and 4x4s for the posts and corner supports. Don't forget to double-check your measurements!
Assembling the Floor: Lay down your floor joists on the foundation, spaced 16 inches apart. Attach them to the foundation with joist hangers or lag screws.
Building the Walls: Construct the walls by joining the 2x4 studs using 16d nails or screws. Use a level to ensure the walls are plumb (straight up and down).
Adding Braces: For extra strength, add diagonal braces to the walls. These can be made from 2x4s or plywood.
Assembling the Roof: The roof can be a simple gable design or a more complex hip roof. Create the rafters, attach them to the walls, and add sheathing for a solid base for the roof covering.
3. Sheathing & Siding:
Sheathing: This layer provides structure and support for the exterior siding. Plywood or OSB (oriented strand board) are common choices.
Siding: You have a wide range of siding options, from traditional wood to vinyl to fiber cement. Choose a material that fits your budget and aesthetic preferences.
Window and Door Installation: Measure and cut openings for windows and doors before installing them. This is a crucial step, so make sure your measurements are accurate!
4. Roofing:
Underlayment: Install felt paper or a synthetic underlayment beneath your shingles to provide an extra layer of protection against leaks.
Shingles: There are many types of shingles available, from asphalt to metal. Choose a type that suits your budget and climate.
Flashing: Install flashing around windows, doors, and roof vents to prevent water from seeping in.
5. Finishing Touches:
Painting & Staining: Protect your shed from the elements and give it a beautiful finish with paint or stain. Choose colors that complement your house or yard.
Insulation: Insulating your shed can make it more comfortable to use in all types of weather. You can add insulation to the walls and roof for better temperature control.
Electrical Work: If you plan on using your shed for more than just storage, consider adding electrical wiring. This can be a DIY project, but it's crucial to follow safety regulations and consult with a professional if needed.
Doors & Windows: Install your windows and doors, adding weather stripping and handles for ease of use.
Budget-Friendly Tips:
Shop Around: Compare prices for lumber, roofing materials, and other supplies at different stores. Don't be afraid to negotiate!
Use Recycled Materials: Get creative and repurpose old doors, windows, and other building materials to save money.
Go for Simple Designs: A basic gable roof is cheaper to build than a more complex hip roof.
Ask for Help: Don't be afraid to enlist the help of friends or family to assist with the heavier tasks.
Building Your Shed: A Rewarding Experience
Remember, building a shed is a journey, not a race. Take your time, work safely, and don't be afraid to ask for help when you need it. With a little patience and effort, you can create a beautiful and functional space that will add value to your property for years to come.
And most importantly, enjoy the process! Building something with your own two hands is a truly rewarding experience. You'll be amazed at what you can achieve!
No comments:
Post a Comment
Note: only a member of this blog may post a comment.